Earlier this week, while looking for creative projects on the web, I stumbled onto this image.
Oh stop it. Really? Those are awesome!
However, other than the easily-recognizable chocolate chips, I had no idea what they were or how to even begin making them.
Google provided me with the following information:
They are cake pops. You mix icing and cake together and roll them into balls, put a stick in them and dip them into candy coating.
Sold.
I worked at a bakery in college and loved when a customer came in with a challenge like that. I figured out cupcake cakes (cupcakes arranged and then iced over in the design of a dinosaur or a bike or whatever) way before they started appearing in Martha Stewart, and my absolute favorite thing was making wedding cakes.
Which, by the way, made for a hilarious story at our wedding, when the cake decorator at Cinotti's Bakery got confused (after letting her know I used to do wedding cakes and the multiple meetings, pictures, sketches, phone calls and email reminders).
![]() |
| picture I gave them vs what showed up at the reception |
So when I walked into the wedding reception and saw a
BLUE cake, I almost fainted. And then I almost died laughing. I mean, really, at that point, what else do you do? (Yeah, everything at Cinotti's is delicious, but don't use them for your wedding cake.)
Okay, back to cake pops. So I figured, how hard could they be?
A few trips to the grocery store and Michaels later, project get-cake-all-over-the-kitchen was in full swing.
Step 1 -- Bake cakes, then crumble into bowl.
(I also added red food coloring to the white cake mix.)
Step 2 -- For each box of cake mix you used, mix in 12 oz frosting. (Again, added the red food coloring prior to mixing.) I also added mini chocolate chips to the mixture to look like seeds!
Step 3 -- Roll out the balls.
![]()
It's entirely possible I was so excited about this that I did it at 1 a.m. after I got home from work. Haylie was keeping me company (and cleaning whatever I dropped on the floor -- good dog!).
Step 4 --
Dip them in the coating. Put in the sticks.
This is where I started to have some trouble. If you just put the stick in and try to dip them, they fall off the stick. After staring at them for a while, in my now-2-a.m. daze, I realized the chocolate will also work as a glue. I dipped the end of each stick in the chocolate, stuck them in the balls and then put the tray in the fridge overnight to set up. It worked!
Step 5 -- Now dip them in the coating! Melt the chocolate according to directions. After burning a lot of chocolate in my bakery days, I now use this method: microwave 30 seconds, stir 15 seconds, microwave 30 seconds, stir 15 seconds, microwave 15 seconds, repeat, using 15 second intervals until melted.
Step 6 -- Let cool. I used a piece of styrofoam and it worked great!
Step 7 -- Dip again, this time in green candy coating. I found the green, pre-dyed candy coating I got from Michaels to be much easier to dip and significantly thicker.
Step 8 -- Let cool.
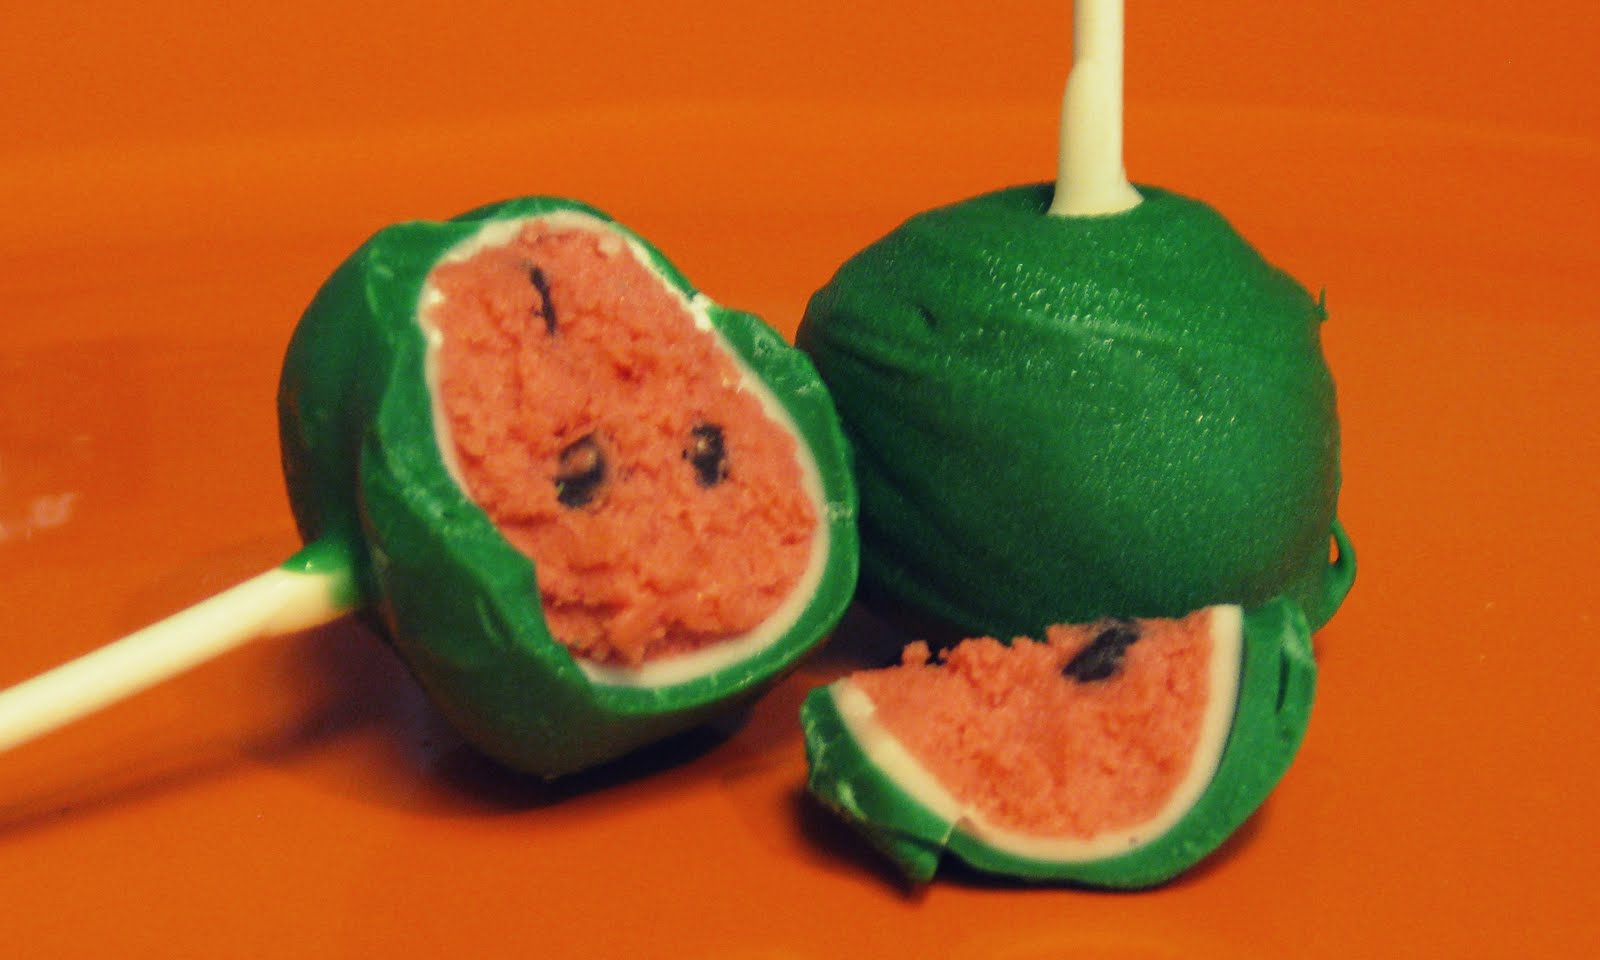
Step 9 -- Eat!!!